 Guide to Drywall Installation: Tips and Techniques
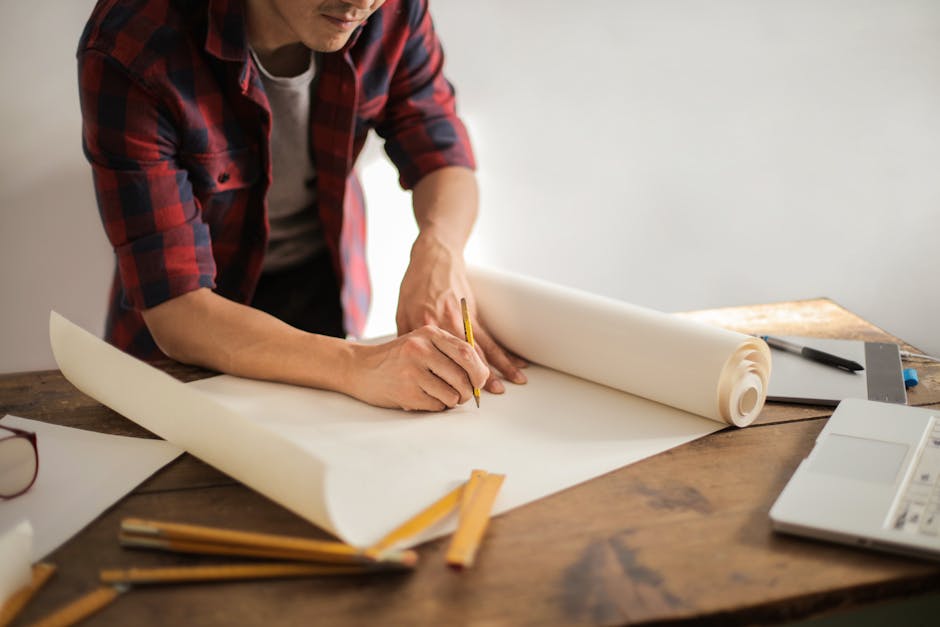
Installing drywall is a fundamental skill for many home improvement projects, whether you’re renovating a room, adding an extension, or simply patching up walls. Understanding the basics of drywall installation can not only enhance the appearance of your space but also improve its insulation and soundproofing qualities. In this guide, we’ll walk you through the essential steps, tools, and tips needed to achieve a professional-looking result.
The first step in any drywall installation process is to gather the necessary tools and materials. You’ll need drywall sheets, joint compound, drywall tape, a utility knife, a drywall saw, screws, and a screwdriver. Additionally, having a measuring tape, a T-square, and a drywall lift can significantly ease the process. Before you begin, it’s crucial to measure the area where the drywall will be installed accurately and plan how you will cut and fit the sheets.
Once you have your materials ready, start by cutting the drywall to fit your designated area. Use your utility knife to score the surface of the drywall and then snap it along the score line. When installing, ensure that you stagger the seams of the panels for better stability and coverage. Secure the drywall sheets in place using screws spaced approximately 16 inches apart, making sure that the screws are slightly indented without breaking the paper surface of the drywall.
After the drywall is securely in place, it’s time to finish the seams. Apply drywall tape over the joints between the sheets of drywall, then cover it with joint compound using a putty knife. Smooth out the compound, feathering the edges to create a seamless transition between the drywall and the wall surface. Allow the compound to dry before sanding it down to achieve a smooth finish. This process may require multiple coats of joint compound and sanding in between, but taking the time to do it right will yield great results.
Once the final coat is dried and sanded, your drywall installation will be ready for priming and painting. Make sure to apply a primer specifically designed for drywall, as this will help the paint adhere better and provide a more professional finish. With your beautifully installed drywall, you can now enjoy transforming your space according to your vision. Remember, practice makes perfect, so don’t hesitate to tackle small projects to hone your skills before moving on to larger installations.
In conclusion, drywall installation is a manageable task that can significantly enhance the aesthetics and functionality of your home. By gathering the right tools, following the installation steps diligently, and taking the time to finish properly, you can achieve a professional look without the need for costly contractors. With a bit of patience and practice, you will soon become adept at drywall installation, adding value and comfort to your living spaces.